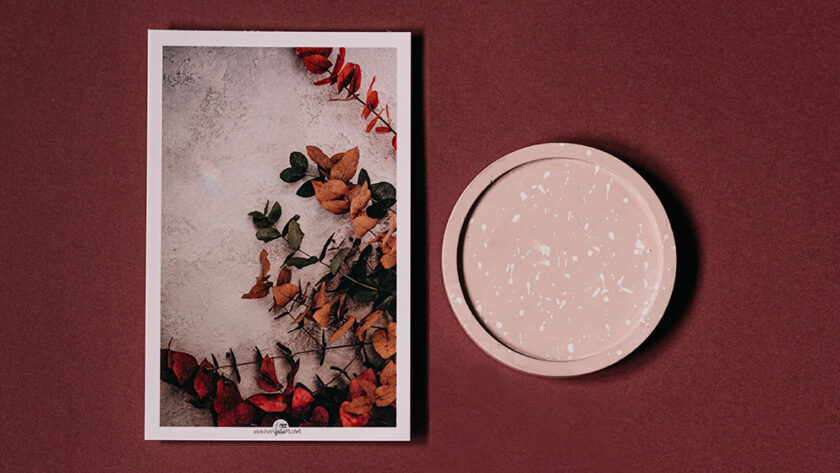
Add a personal touch to your living space and unleash your creative spirit. If you’re an intermediate crafter seeking a fun and personalized project, look no further! In this article, we’ll guide you through the process of making personalized photo coasters that will elevate your home decor with cherished memories. So, grab your crafting tools, select your favorite photos, and let’s embark on this creative journey!
Crafting Supplies for Making DIY Photo Coasters At Home
Before we begin, let’s gather the materials you’ll need for this exciting project:
- Ceramic Coasters: Easily available at your local craft store or online. Alternatively, you can repurpose old tiles or use cork or wooden coasters for a unique touch.
- Mod Podge or Clear-Drying Adhesive: This will seal and protect your photos, ensuring their longevity.
- Foam Brush or Sponge Brush: Perfect for applying adhesive evenly and achieving a smooth finish.
- Scissors: Essential for trimming your photos to fit the coaster size of your choice.
- Photos: Select your most treasured snapshots or artwork that hold sentimental value. Family portraits, memorable vacations, or adorable pet pictures are excellent choices.
- Craft Varnish or Clear Acrylic Sealer: Adds an extra layer of protection and makes your coasters water-resistant.
Now that we have our supplies ready, let’s dive into the step-by-step process of crafting personalized photo coasters:
Step 1: Set Up Your Crafty Corner
Prepare your crafting area by laying down some newspaper or a craft mat to protect your surfaces from any spills or messes.
Step 2: Trim Your Photos to Fit
Using your trusty scissors, carefully trim your photos to match the size of your chosen coaster shape. Whether you prefer squares, rectangles, or even fun custom shapes, let your creativity shine.
Step 3: Apply the Adhesive
Take your foam brush or sponge brush and apply a thin, even layer of Mod Podge or clear-drying adhesive to the surface of the coaster. Ensure that you cover the entire area where your photo will be placed.
Step 4: Attach Your Photos
Gently place your trimmed photos onto the adhesive-coated coaster, pressing down firmly to create a smooth and secure bond. Take a moment to appreciate how your cherished memories transform into beautiful coasters.
Step 5: Optional Protective Finish
For added durability, consider applying a coat of craft varnish or clear acrylic sealer to protect your coasters from spills and everyday use. This step adds an extra touch of longevity and resilience.
Step 6: Let Your Coasters Dry
Allow your coasters to dry completely, following the instructions on your chosen adhesive and protective finish. Once dry, your personalized photo coasters are ready to showcase your memories in style!
Conclusion
Congratulations on creating your very own personalized photo coasters that will bring a unique touch to your home decor! These coasters not only serve a practical purpose but also hold special memories and add a personalized touch to any space. So gather your supplies, let your creativity flow, and enjoy the satisfaction of crafting coasters that reflect your cherished moments. Get ready to impress your guests while savoring the memories that make your house a home!


