In the midst of our fast-paced lives, finding moments of tranquility and inner peace can be a challenge. If you’re an adult who loves plants and seeks a calming oasis at home, crafting your own DIY terrarium is the perfect solution. In this comprehensive guide, we’ll walk you through the step-by-step process of creating a stunning terrarium that brings the soothing presence of nature into your living space. Let’s dive into the world of terrariums and discover how to achieve a Zen-filled ambiance in your home.
Materials for Your DIY Terrarium
To begin this rewarding project, gather the following materials:
- Glass Container: Choose a clear glass container, such as a jar, vase, or fishbowl, that allows for easy arrangement and maintenance.
- Pebbles or Gravel: These act as a drainage layer, ensuring optimal moisture levels for your plants.
- Activated Charcoal: A thin layer of activated charcoal provides effective air filtration within your terrarium.
- Potting Soil: Opt for a well-draining soil mix suitable for the specific plants you’ll be using.
- Plants: Select low-maintenance, humidity-loving plants like succulents, air plants, or ferns, ensuring they complement each other in terms of size, color, and texture. Succulents are a great choice as they vary so much in appearance, style, size, and texture — and they’re generally inexpensive!
- Decorative Elements (Optional but not really): Enhance your terrarium’s aesthetics with decorative items such as pebbles, moss, seashells, or miniature figurines.
Steps to Crafting Your DIY Terrarium
Follow these steps to create your terrarium:
Step 1: Choose the Perfect Container
Select a glass container that matches your style and fits seamlessly into the desired space. Globes and pyramid shapes are most popular. Optimal visibility is essential for enjoying the beauty of your terrarium. If you plan to hang your terrarium, look for one with a hole for easy hanging later.
Step 2: Establish a Solid Foundation
Begin by adding a layer of pebbles or gravel to the base of your container. This ensures adequate drainage, preventing root rot and maintaining plant health.
Step 3: Introduce Air-Purifying Charcoal
Sprinkle a thin layer of activated charcoal over the pebbles to create a natural air filtration system, ensuring a fresh atmosphere within your terrarium.
Step 4: Create the Planting Medium
Add a layer of well-draining potting soil on top of the charcoal, providing a nourishing environment for your chosen plants. Ensure sufficient depth to accommodate the root systems and allow for easy arrangement.
Step 5: Artful Plant Placement
Now, unleash your creativity! Carefully plant your selected green companions into the soil, arranging them strategically to achieve a visually appealing and harmonious composition. Vary the heights, colors, and textures of the plants for an eye-catching display.
Step 6: Elevate with Decorative Touches
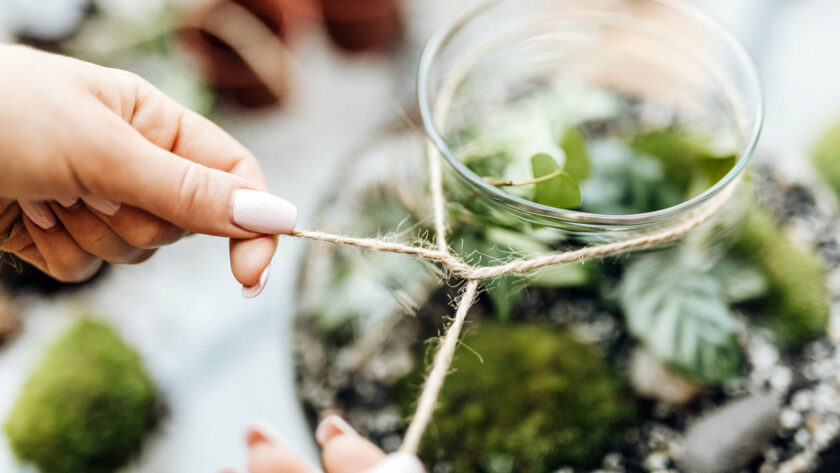
If desired, enhance the visual charm of your terrarium by incorporating decorative elements like pebbles, moss, miniature figurines, or jewels that will catch the light. These additions add personality and intrigue to your miniature garden.
Step 7: Maintenance and Care Tips
Place your terrarium in an area with indirect sunlight, as most terrarium plants thrive in bright, filtered light conditions. Monitor the moisture level, keeping the soil slightly damp but not saturated. Mist the plants occasionally, especially during dry spells, to maintain the ideal humidity.
Conclusion
Congratulations on creating your own DIY terrarium. This living masterpiece brings nature’s tranquility into your home, promoting relaxation and providing a visually captivating focal point. As you nurture and care for your little garden in miniature, you’ll reap the benefits of a zen-filled ambiance while fostering a deeper connection with the natural world. Embrace the serenity and enjoy.


